forest animal diorama printables
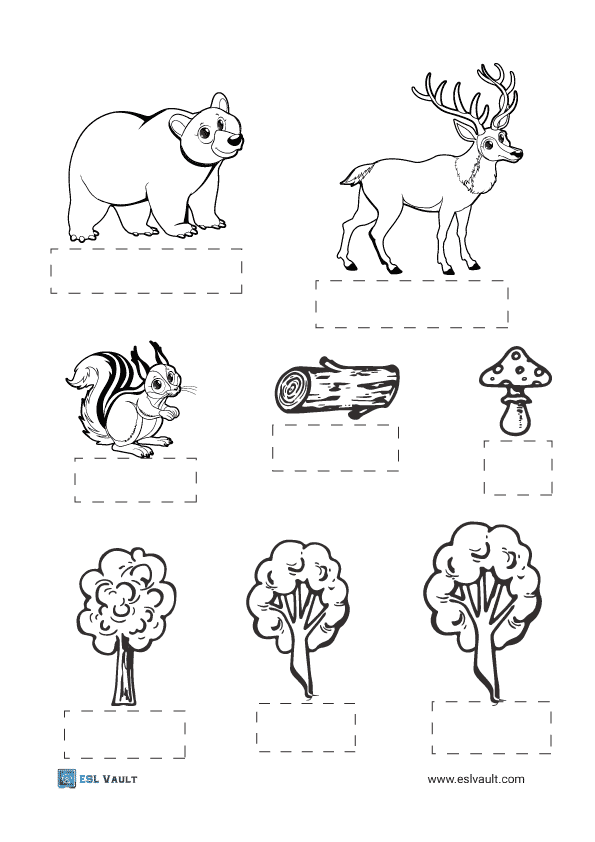
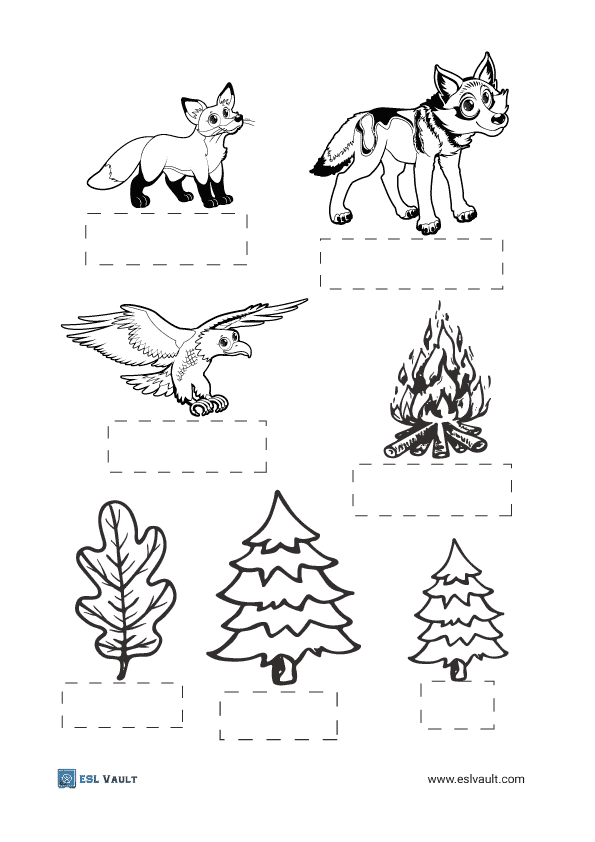
2 pages consisting of 6 animals and some typical forest scenery for children’s craft. Children just need to colour them in and cut them out before placing them on a background.
Be sure they cut around the dashed line base so that can be used to stand the objects up. This is easily done by folding the dashed box at right angles to the picture and sticking it on the background via tape or glue. Bear in mind that if you print this on thin paper it will be quite flimsy so thicker paper or card is best. One workaround is to stick the paper on top of cardboard and then cut it out.
Once you have given the students the forest animal diorama printables, you can suggest colours by dictating or writing them on the board. Things like – The fox is orange, the Bear is brown, The small tree is yellow and so on. Alternatively, just let the kids choose their own colours no matter how whacky they may be. There is nothing wrong with a rainbow forest animal scene!
If you don’t have shoeboxes or similar for a traditional diorama don not fret! For the background you can use cardboard, paper or something with paper stuck on it. It is nice to add colour to this background to enhance the scene. Suggest to the students that they draw some grass, a stream, maybe a pond, or a lake as well. Anything goes really but the extra colour is a great effect.
I like to get the students to draw a rectangle box somewhere on the scene where they can also write about their forest animal scene. It is always good to get some writing practice in and after it is completed, they can present the scene as speaking practice.
It is also a good idea to get the student to trade the animals and objects as a speaking exercise. A particular student might want 3 deer for example. Encourage them to barter in English so that they can get the different pieces they want for thier projects.


