Printable clock faces
These printable clock faces can be used as fun class craft activities for students learning how to tell the time. There are 5 different PDF pages of clocks to choose from so you are bound to find one that you like!
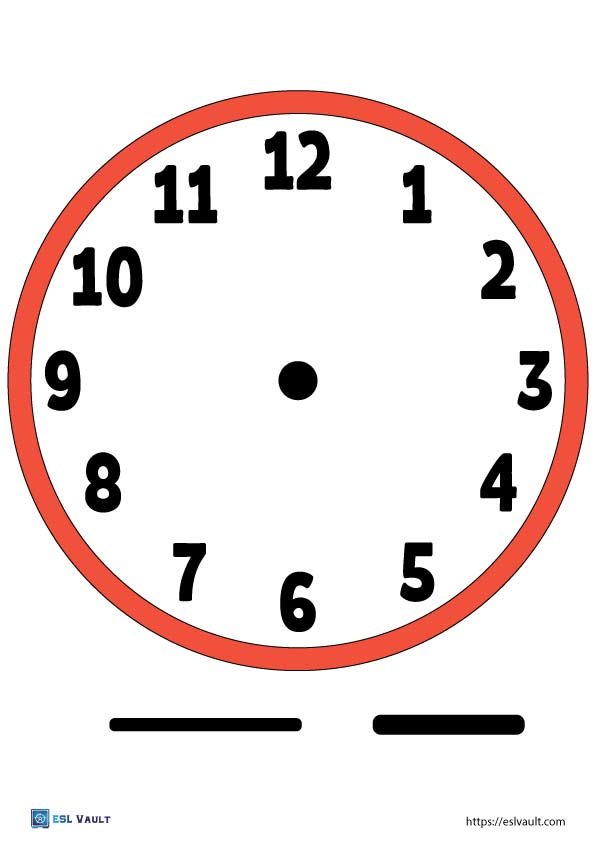
There are clock faces with hands, without hands, with and with numbers, with minutes, and even one with Roman numerals. The first PDF above has the hours marked and some hands for you to cut out and use. These are optional, you can always make your own hands in any shapes that you prefer.
How you choose to use these printables is completely up to you and you probably already have a plan. If not, one of the best ideas is to make a clock with moving hands. It is a fun craft activity for kids who are learning how to tell the time.
To do this activity, what you will need is –
- Scissors
- Glue (Sticky tape and staplers can also be used)
- A craft split pin or paper fastener
- Pens, pencils, or crayons (optional)
The steps are –
1 – The first thing you should do to your printable clock faces is to add any colors or details that you want. You might want to decorate them with small pictures or depending on which PDF you have chosen, add minutes and the numbers of the hours.
2 – Once this is done, simply cut out the clocks and hands around the outer edge. If you find the clock hands are a bit thin you can cut them out a bit wider or make new ones.
Note that this can be done on paper but printing on cardstock or sticking the clocks to cardboard works much better. This way the clocks are more durable and less prone to tearing. If you have printed on paper, the next thing that you will need to do is glue the clock face and hands to cardboard. Afterward, cut them out.
3 – The first printable clock face above has the center of the clock marked with a dot. For the other pages, you will need to find this point yourself. It is very easy to do.
With a ruler measure and find the middle of the circle between the 12 oçlock and 6 oçlock marks. There you have it! Just draw a small dot there with a pen or pencil. You can also double-check this by finding the middle of 9 oçlock and 3 oçlock.
4 – Now that you have the center of the clocks make a very small hole there with a pen or sharp pencil. Do this again at the base end of your clock hands.
5 – Finally, attach the hands to the center of the clocks. Just line up the holes of all 3 pieces push your split pin through and fold the ends at the back. You now have a clock with rotating arms!
printable clock face without hands
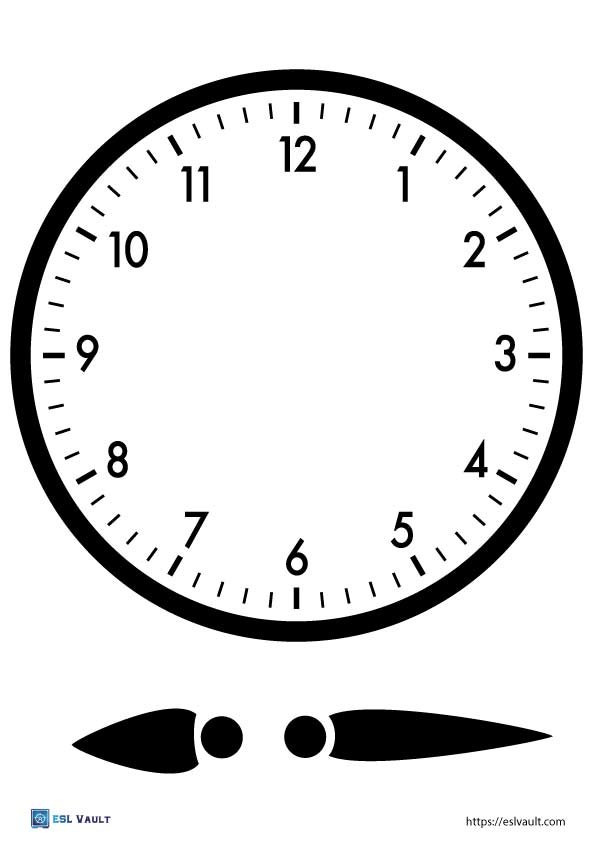
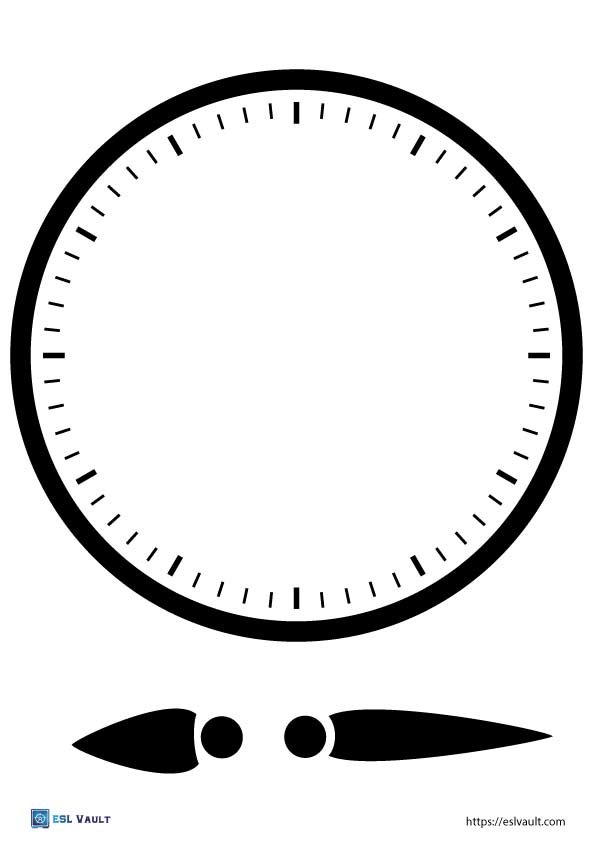
These next few clocks above and below have minutes marked on them which is helpful for teaching the time to somewhat more advanced learners. The first two have numbers while on the others they can be drawn in.
The page below also has no hands. This may come in handy if you want learners to write some information in the blank space beneath. It can also be used to draw clock hands that can later be cut out.
Printable clock face with Roman numerals
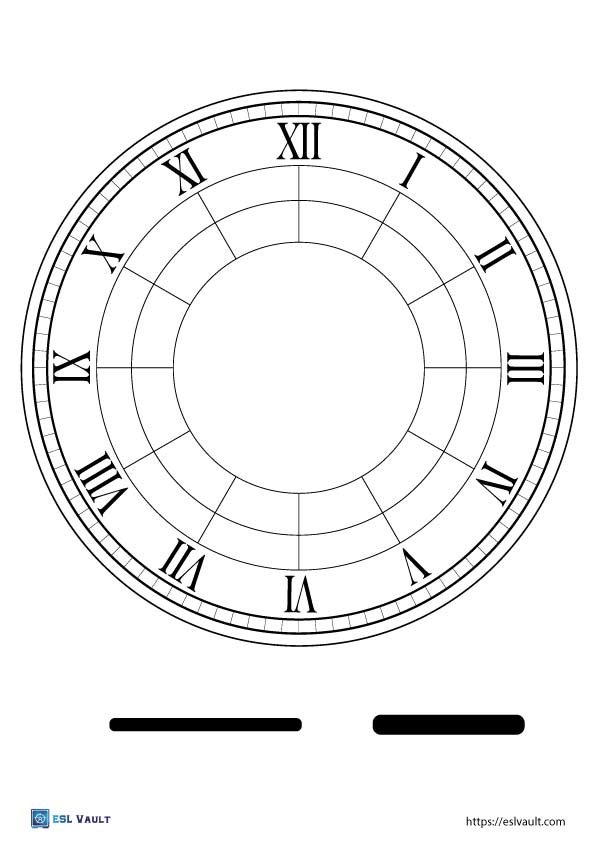
The final PDF page below is a bit different as it doesn’t contain digits, but Roman numerals. It is useful for students learning these numbers.
Further ideas for using the printable clocks
Here are a few more ideas for how to use these free PDF pages.
1 – Use pencils or something similar for clock hands. With 2 pencils, one shorter than the other, you can ask students to arrange them to show the time. You can dictate times to them and see if they can arrange the pencils correctly. This is a quick and easy way in which the clock faces can be used over and over.
2 – Laminate the clocks. If you cover the clocks with plastic learners can use a dry erase or laminate maker to draw the time and then erase it again.
3 – Make an international clock poster. By combining several clocks on a larger sheet students can mark the time in different cities of the world. This is great for teaching international time differences.

