
MIxed up animal printables
These 9 printables have everything you need to make your own animal mix up pictures in class. It is an awesome craft activity that all kids love! You can also involve plenty of English language learning about animals and their body parts.
There are a ton of different body parts giving kids a huge amount of options when creating animal mix-up pictures. Students can choose each body part from a different creature and mix and match however they want. Silly mix-up pictures are a heap of fun and students really enjoy the creativity of making a strange beast!
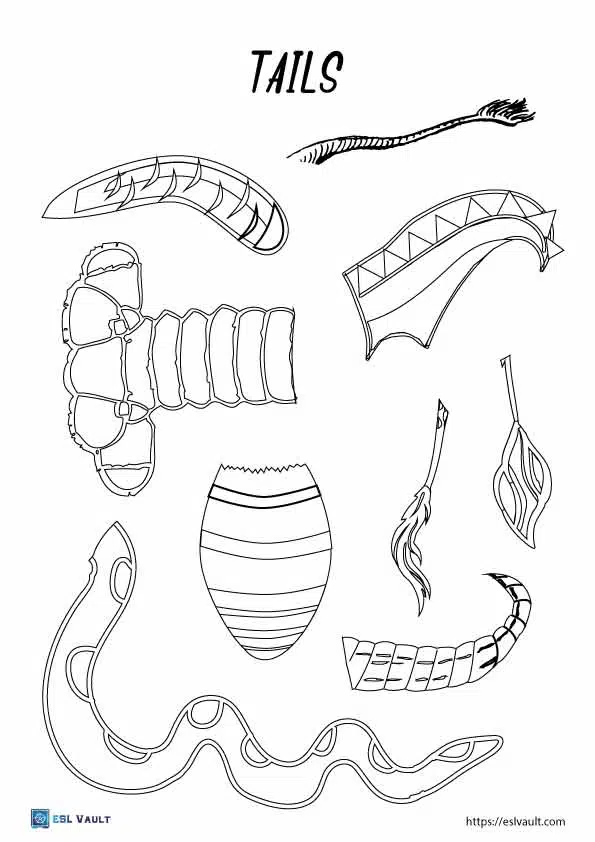
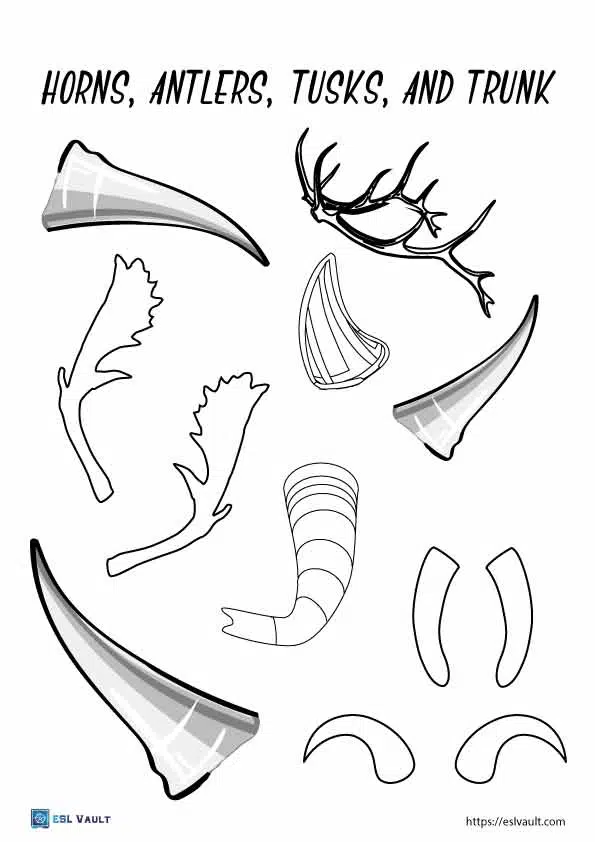
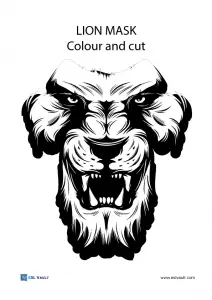
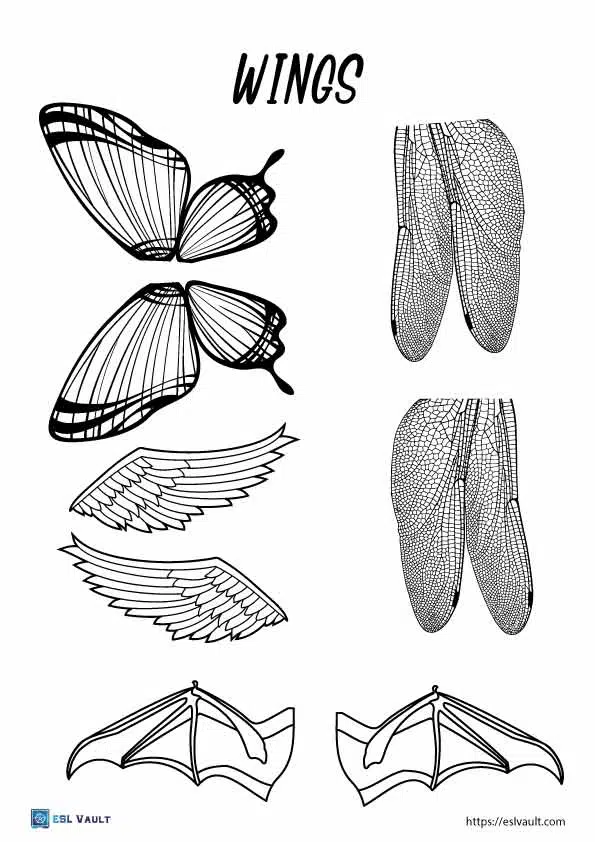
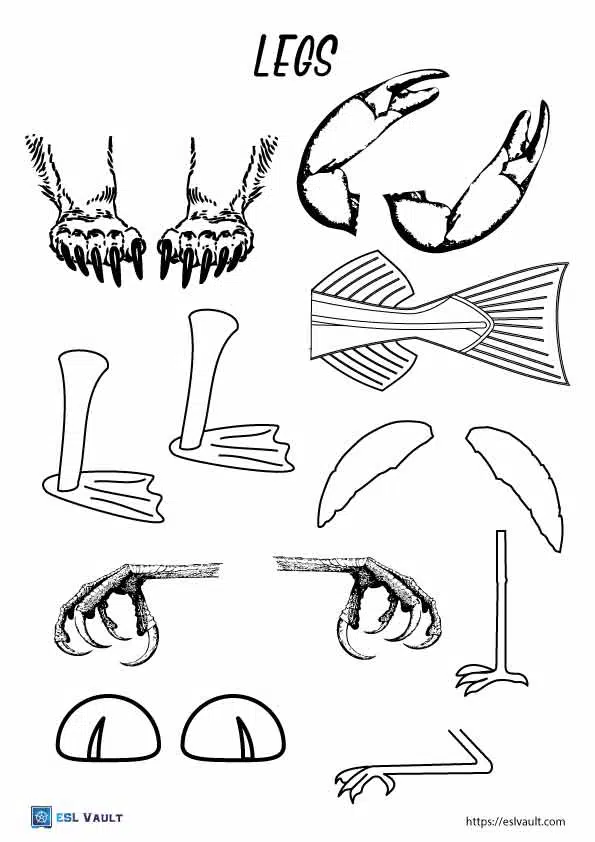
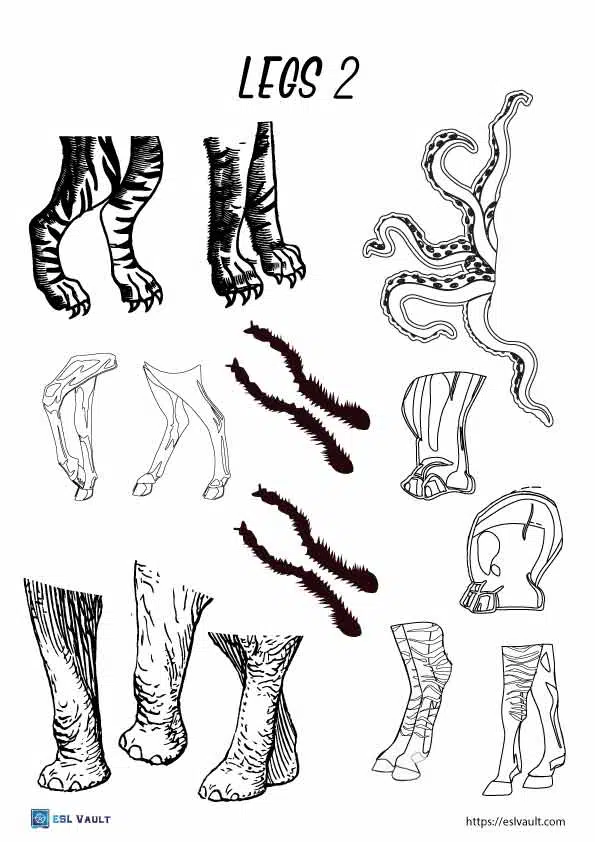
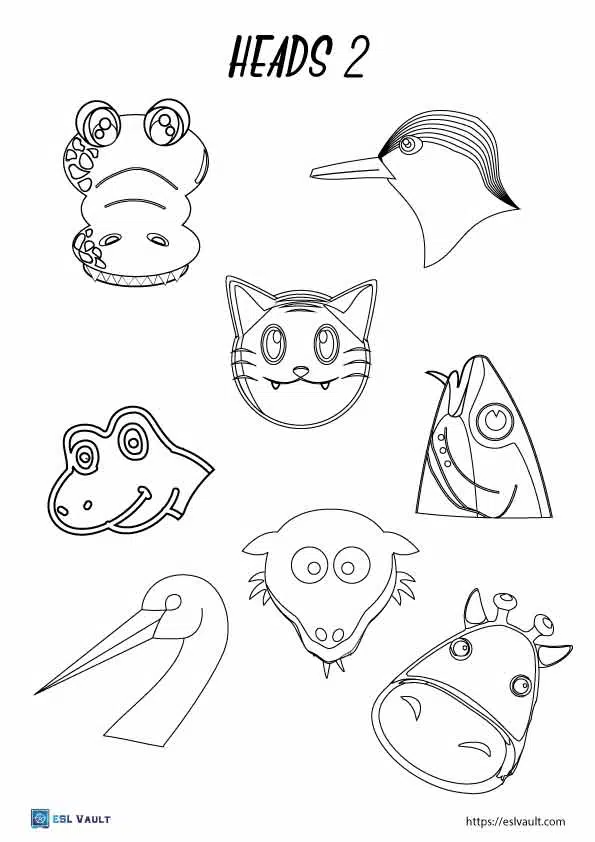
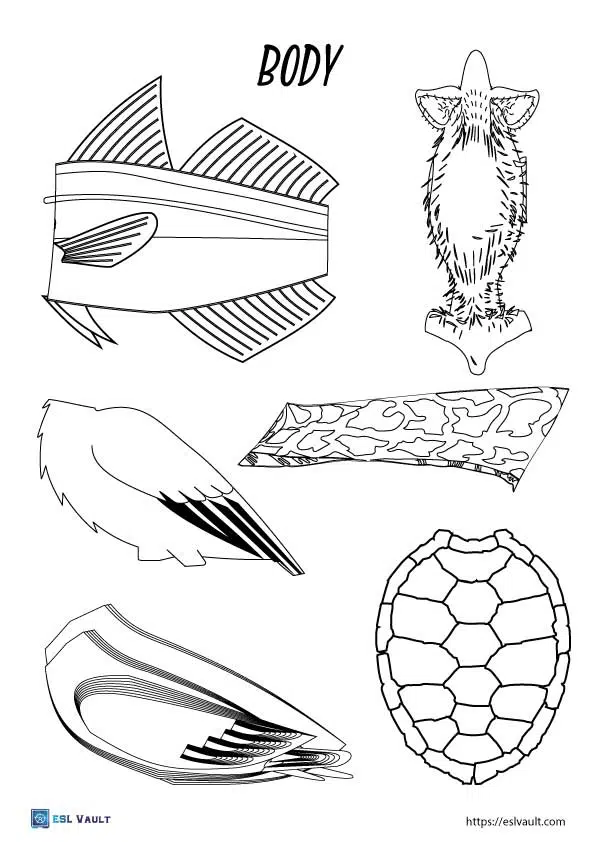
The mixed up animal printables have the body parts of wings, legs, body (torso), heads, tails, horns, and antlers. The body parts come from the animals – butterfly, dragonfly, bird, bat, bear, crab, fish, duck, turtle, goat, eagle, stork, tiger, lion, octopus, giraffe, cow, bee, hippo, rhino. elephant, snail, snake, cat, crocodile, elk, zebra, kangaroo, bison, and lobster.
To conduct this activity students will need, colored pencils/crayons, scissors, sticky tape or glue, and a blank sheet of paper for each mixed up animal they make.
How to use the mixed up animal printables
You will need to print at least 3 of the animal mix-up printables – one each of the body, head, and leg sheets. It is best to print more however and give kids lots of options to get super creative.
The best way to do this is to put your students in groups of around four and give them a full set of the 9 worksheets. This way, there are enough body parts for everyone to mix and match as well as options to choose from. Crayons and pencils work best for this step but you can use colored pens as well.
The first thing to do is to get your students to color the worksheets. Be sure to set a time limit for this and let the class know beforehand.
Next, give each student a pair of scissors to cut the body parts out. At this first stage of cutting, there is no need to cut precisely around the pictures. Just a simple cut to separate each of the body parts from the sheets is all that is required.
Once the pieces are cut, let the students take turns to choose 1 body part each at a time until they have enough to create their mixed up animal. They should then lay the parts down on their blank sheet of paper and see where the pictures need to be trimmed again to make a nice-looking (but silly) animal. Only cuts where the pictures join will really be needed.
Finally, your students can join their creatures together using glue or sticky tape.

Involving English in the mixed up animal printables activity
You may need to pre-teach some words such as tusk, horn, antlers, hooves, shell, trunk, claw, and tail. While the students are coloring and cutting you can ask them questions and get them to talk about the mixed up animal body parts and their colors.
Once students have completed their animals, there should be enough space on their paper to write a short description of what they made. For example, my animal has a cat head, a snake tail, a kangaroo body, butterfly wings, and deer antlers.
Students can also present their animals to the class and practice speaking further. Also, be sure that students give their animals names, the wackier the better!
If you are looking for a similar activity, check out the build a monster worksheets.